
How To Do Nails At Home? Safely, no damage, no lifting.

How To Do Nails At Home?
Safely, no damage, no lifting.
Whether you don’t have time to head into the salon or you’re simply looking for ways to cut back on your beauty spending, learning how to do your own nails at home is a skill worth pursuing.
Just keep in mind that acrylic, gel, poly-gel... nails—both those done in a salon or created at home—come with their pros and cons. On one hand, they’re sturdy and long-lasting, creating the unique opportunity to score stellar nail length if your natural nails are hard to grow out. On the other hand, they can be damaging to your nails if you don’t prepare natural nails properly, if you remove them improperly, also skin reactions can occur, if you don't do nails safely.
That's why I will spill all my magic and glitters and ride you true the safe, no damage, no lifting, process.
Because I want you to stay healthy and to have healthy nails.
________________________________________________________________________________________
![]()
Hello, my name is Nina I. Hribar, I'm International nail educator and I'll help you how to do nails at home - safely, no damage and no lifting. I own a beauty salon, I have on-line nail e-cademy and I'm the author of two books for nail technicians.
Because I'm doing nails over 15 years, I know that there are not only glitters all day long :), but also with wrong techniques you can really compromise your health, not just your nails.
That's why I decided to do this nail tutorial HOW to do nails at home - safely, no damage, no lifting.
__________________________________________________________________________________________
PRODUCTS YOU NEED FOR ACRYLIC NAILS:
-
Cuticle Pusher
-
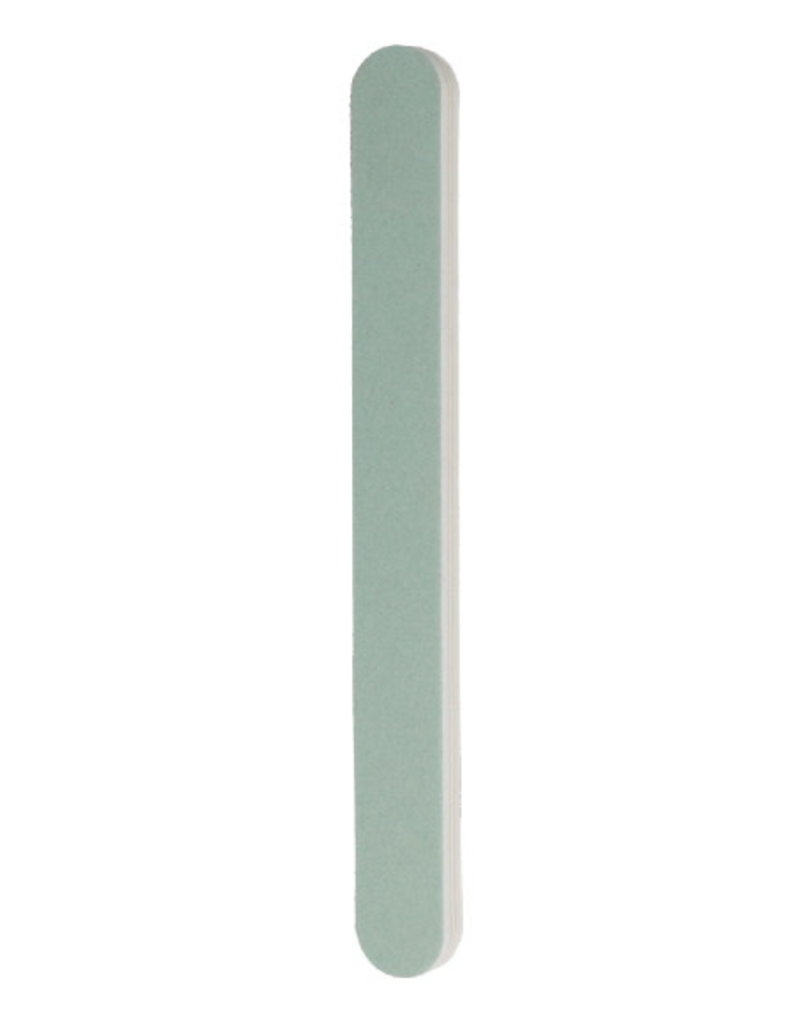
Nail File & Buffing Block
-
Nail Prep/Dehydrator
-
Nail Primer
-
Dappen Dish
-
Acrylic Nail Brush
-
Lint Free Wipes
-
Acrylic Powder
-
Acrylic Liquid (Medium Speed or Maximum Adhesion for beginners as you have a slower drying time)
-
Top Coat
-
Nail Tips (if you'll do nail extensions with nail tips)
-
Nail Glue (if you'll do nail extensions with nail tips)
- Nail Forms (if you'll do nail extensions with nail forms)
-
Cuticle Oil
-
Gloves
- Face mask
Here is the list of all the products you need for acrylic nails, gel, poly-gel nails and dipping system: LIST OF PRODUCTS YOU NEED. List is made in Excel sheet, so you can also calculate what costs you may have with buying products and I also put links inside, where you can buy products (with discount), if you don't know where to buy them.
_____________________________________________________________________________________________
Before you start:
Put your gloves on and face mask.
Consequences of not using right protection. Allergy reactions may occur if you don't use right gloves to protect your self.
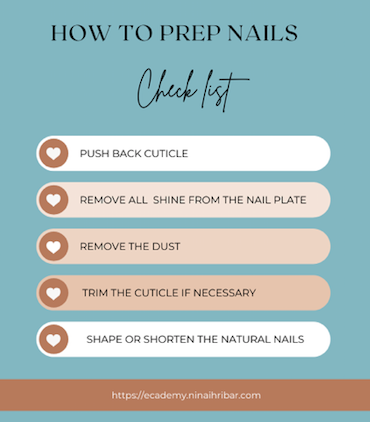
STEP 1: PREP YOUR NAILS
- Gently push the cuticle back with your cuticle pusher, ensuring no cuticle remains on the nail bed.
- Use a buffing block or file with 180-240 grit, to remove all shine to the nail by softly swiping left and right over the entire nail bed. Never use electric file on your natural nail!
- Remove dust either with your manicure brush or wipe over with some acetone on a lint-free pad.
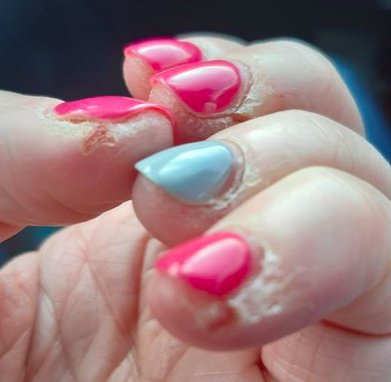
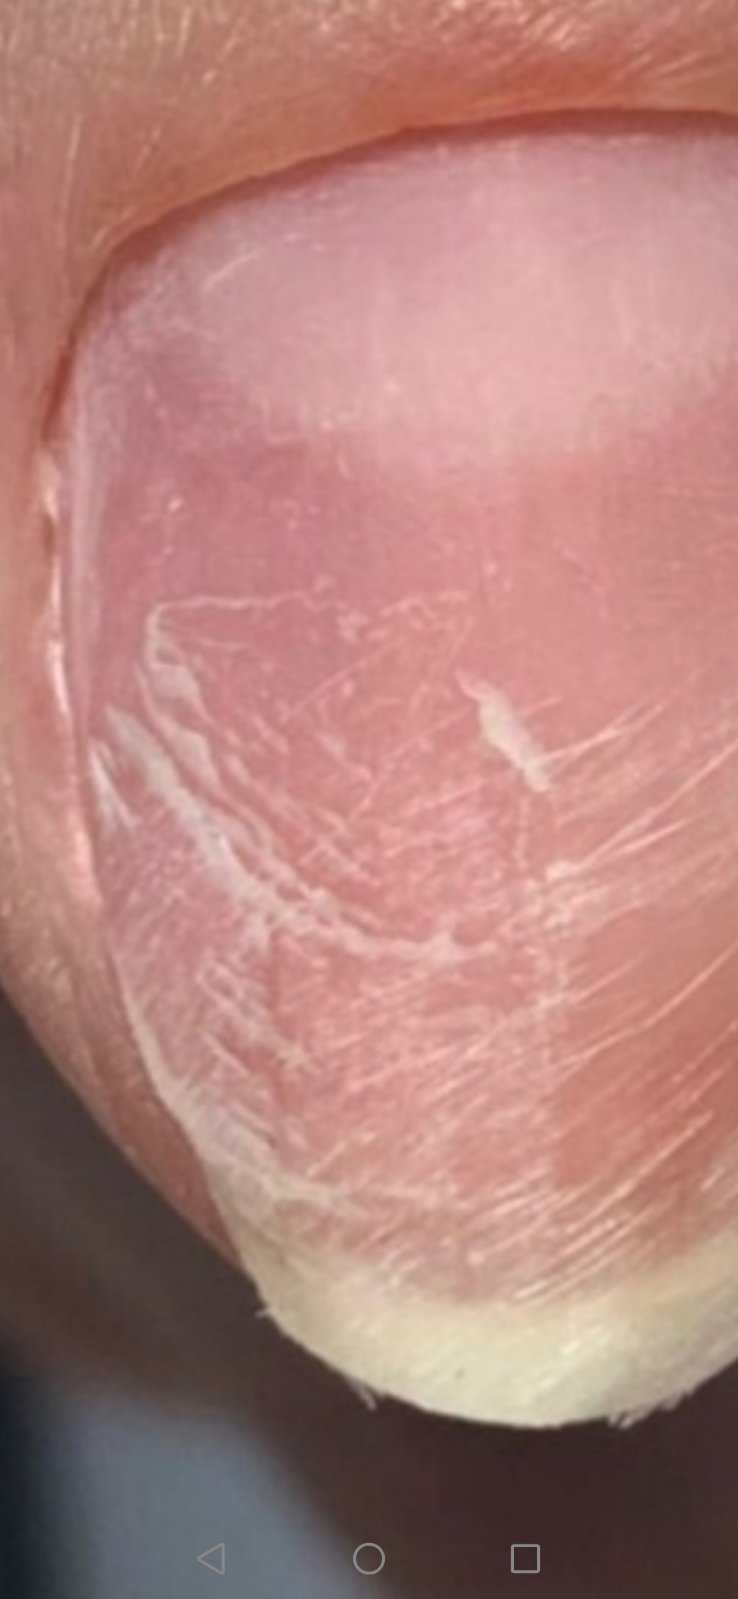 OVERLY FILED NAILS!
Here is the check list of How to prepare nails:
I prepared for you free Home NailBoss training - Why nails are lifting, popping off, … You can check it here: Free training
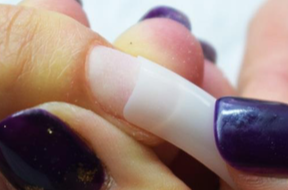
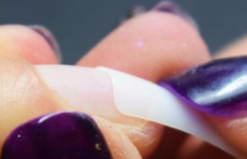
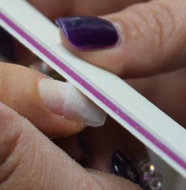
STEP 2: SIZE AND APPLY NAIL TIPS
At this stage, you can apply your nail tips if you’re using them or you can use nail forms, if not, skip to the next section.
1. Pick out the correct sized nail tips that fit your nails snugly and lay them out ready.
 CORRECT SIZE
 WRONG SIZE
2. Apply a small amount of nail glue to the tip, where it will meet your natural nail bed.
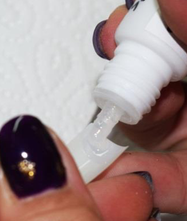
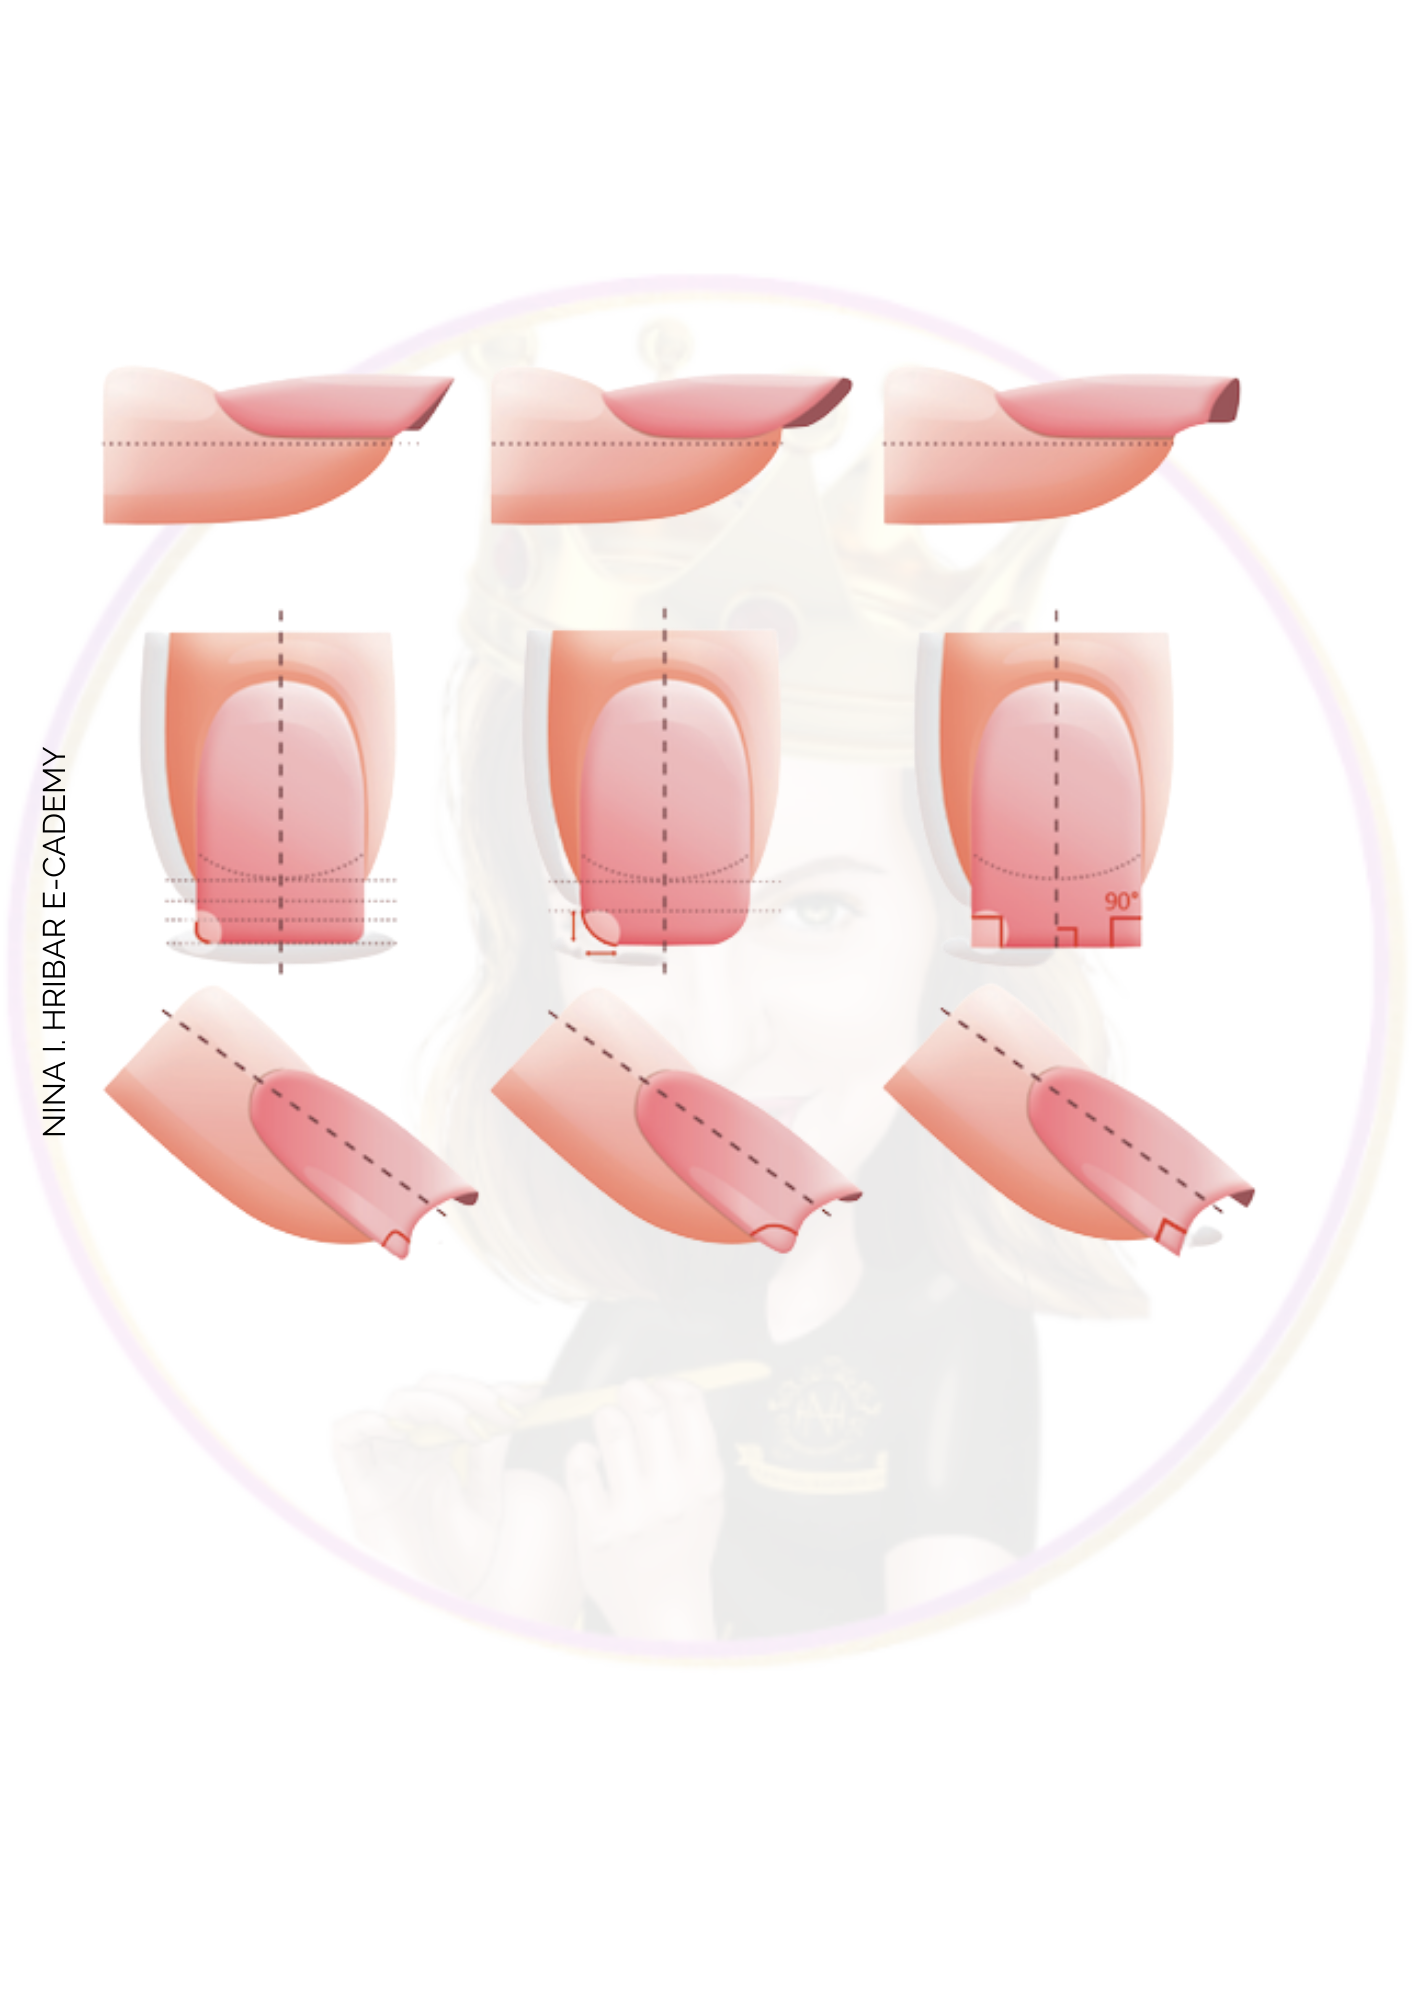
3. Align the tip on the free edge of the nail at a 45- to 90-degree angle and then slowly rock it forward, pressing it onto the nail plate and firmly holding it in place until the glue dries. The glue should spread evenly to completely fill the space. Once the glue has set, use a tip cutter to trim the tips to the desired length and then shape with a file.
4. Using nail tip cutters or nail scissors (trickier to use), cut/snip the nail tip to your desired length.
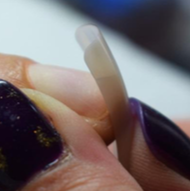
5. File down the nail tip to the shape you would like (e.g almond, square, coffin, etc) don’t file upwards from the underneath of the tip though or you may cause it to pop off.
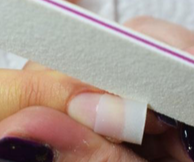
Tip must be totally blended with natural nail.
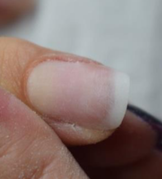
6. Apply dehydrator on the rest of natural nail.
7. Apply nail primer to the entire nail bed.
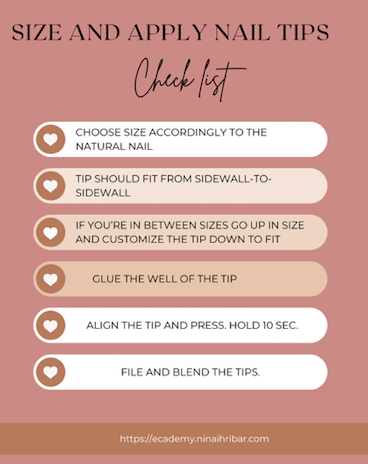
Here is the check list how to apply nail tips:
STEP 3: PRODUCT APPLICATION
APPLYING THE ACRYLICS
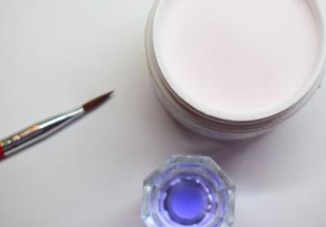
1. Pour your acrylic liquid into your dappen dish. You always need to use fresh acrylic liquid.
2. Dip the acrylic brush into the dappen dish and push the brush tip to the bottom of the dappen dish to get the air bubbles out.
3. Swipe the brush on the edge of the dappen dish once to get the excess liquid off.
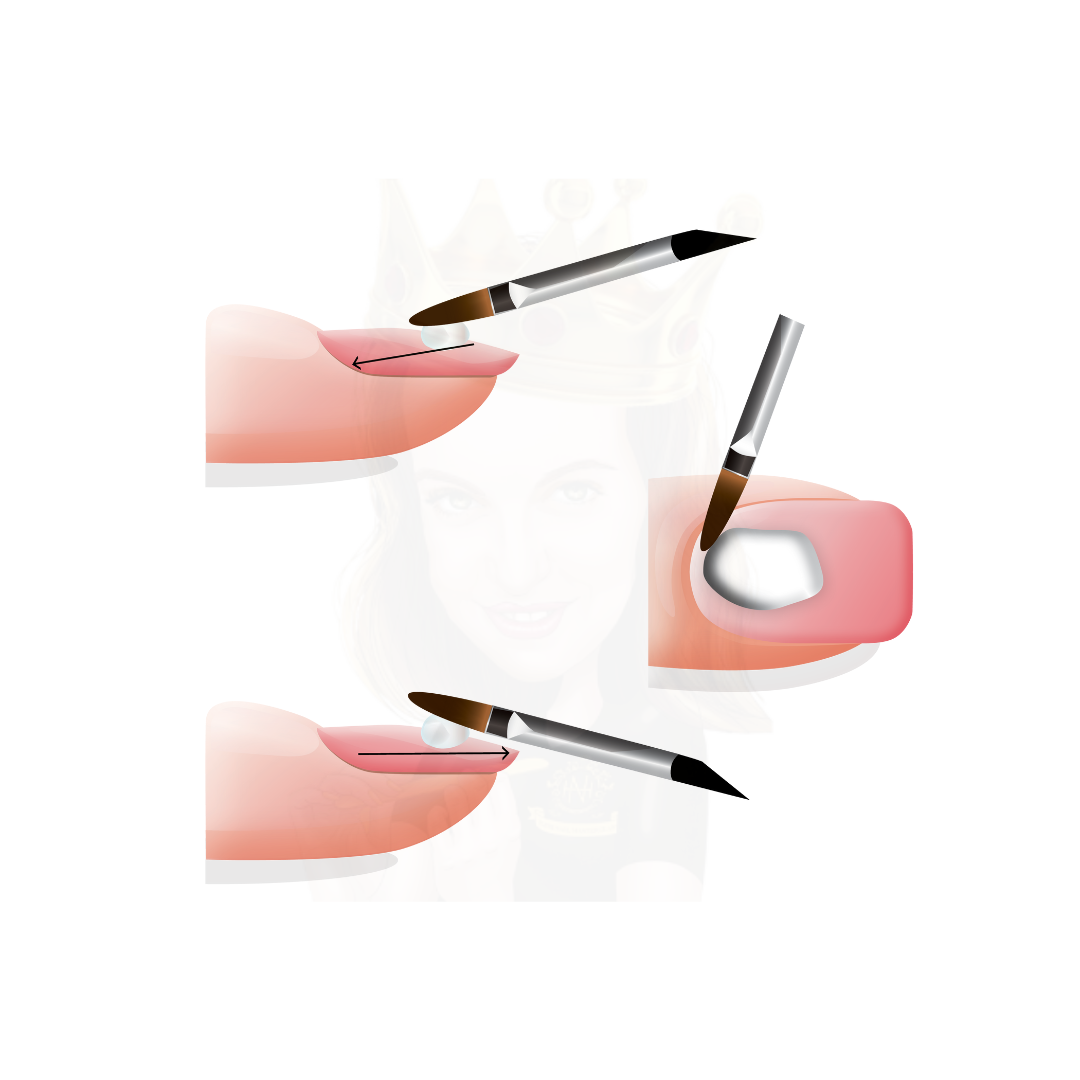
4. Dip the brush tip into the acrylic powder and stroke the brush through the powder towards you until you create a ball of acrylic.
5. Press the brush (with acrylic powder ball on) to a lint-free pad to drain the excess liquid off.
6. Apply the ball of acrylic to the top of the nail (near the cuticle) and bring the bead down to the very tip. Tilt the nail down as you are doing this as it will prevent the acrylic flooding the cuticles.


I prepared for you free Home NailBoss training - Why nails are lifting, popping off, … You can check it here: Free training
7. Sculpt the acrylic by pressing the brush flat to your nail and gently moving the acrylic to smooth out bumps and to spread it out evenly (remember to keep your brush clean by dipping it into the acrylic liquid while doing this).
8. If you need more acrylic to cover the entire nail, repeat steps 2-7 until you’re happy with the coverage of the nail.
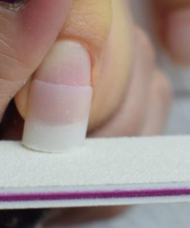
STEP 4: FILING THE NAILS
File the entire nail, it should be smooth on the top and around the edges and make the shape more defined. You need to use right technique in all 10 nails, so that your finished nails look consistent.
Here is the check list how to file your nails:

STEP 5: FINISHING
Now you need to add a top coat to seal in the acrylic. The two steps below show 2 ways of doing this:
If you DON’T have a polymerization lamp to dry your polish:
– Apply regular polish to your entire nail and leave to dry for about 2 minutes or just buff it with high-shine file.
If you DO have a lamp:
– Apply permanent top gel polish.
– Put your hand under the lamp and turn on.
– Leave to cure (polymerize) for 2 minutes under a UV lamp (or 1 minute for a LED lamp).
– When the time is up, remove your hand and clean sticky layer with Cleanser.
Finish off the look by adding a stroke of cuticle oil to the cuticle area of each nail and rub in with your fingers.
Here is the check list how to Do your nails at home:

I prepared for you free Home NailBoss training - Why nails are lifting, popping off, … You can check it here: Free training
Let's shape your future.
Nina I. Hribar
